So guys in today’s blog we will implement the Face Landmarks Detection using the dlib library. We will perform both the 68-point and 5-point detections.
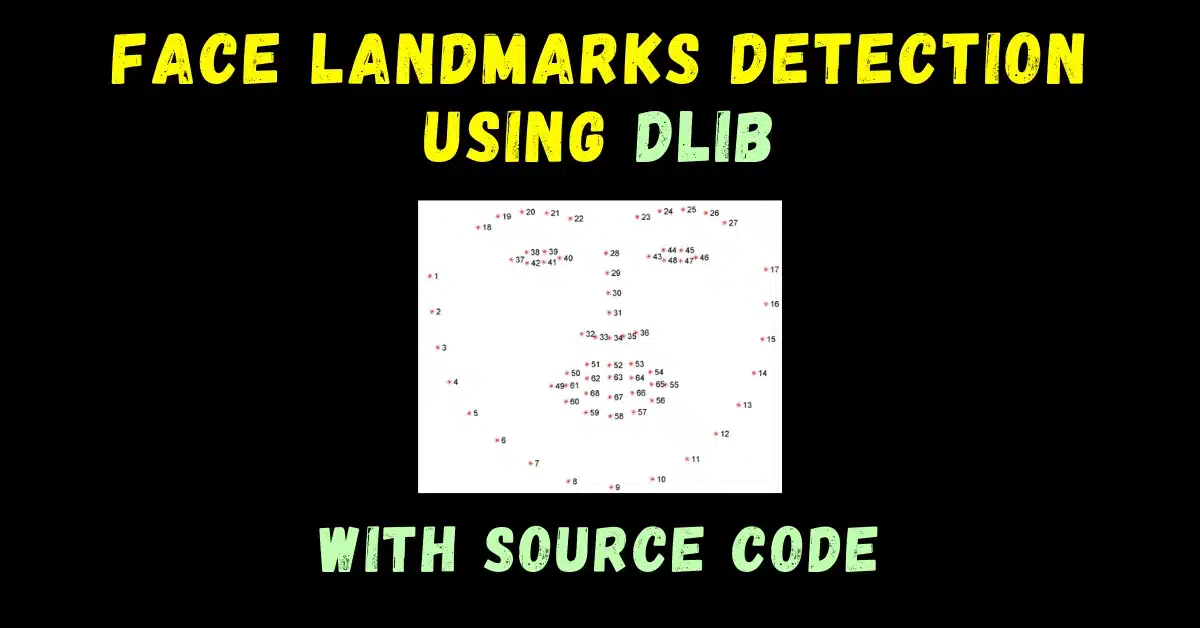
Below is an illustration of 68 Face Landmarks.

So without any further due, let’s do it…
Install dlib
- Use the following command to install dlib.
conda install -c conda-forge dlib
Code for Face Landmarks Detection…
from imutils import face_utils
import dlib
import cv2


detector = dlib.get_frontal_face_detector()
predictor = dlib.shape_predictor("shape_predictor_68_face_landmarks.dat")

cap = cv2.VideoCapture(0)

while True:
    # Getting out image by webcam
    _, image = cap.read()
    # Converting the image to gray scale
    gray = cv2.cvtColor(image, cv2.COLOR_BGR2GRAY)

    # Get faces into webcam's image
    rects = detector(gray, 0)

    # For each detected face, find the landmark.
    for (i, rect) in enumerate(rects):
        # Make the prediction and transfom it to numpy array
        shape = predictor(gray, rect)
        shape = face_utils.shape_to_np(shape)

        # Draw on our image, all the finded cordinate points (x,y)
        for (x, y) in shape:
            cv2.circle(image, (x, y), 2, (0, 255, 0), -1)

    # Show the image
    cv2.imshow("Output", image)

    if cv2.waitKey(5) & 0xFF == 27:
        break

cv2.destroyAllWindows()
cap.release()
- Line 1-3 – Import required libraries.
- Line 6 – Instantiating Face Detector using dlib.get_frontal_face_detector() which is the inbuilt function for face detection in dlib.
- Line 7 – Instantiating Landmarks detector using dlib.shape_predictor(path) where the path to the landmark detection file is passed as an argument.
- Use path to‘shape_predictor_5_face_landmarks.dat’ for 5-point detection.
- Use path to‘shape_predictor_68_face_landmarks.dat’ for 68-point detection.
- Line 9 – Instantiate VideoCapture object to access the webcam.
- Line 13 – Read the image from the webcam.
- Line 15 – Convert the image from BGR to Grayscale.
- Line 18 – Detect faces in the image. It will return rectangles.
- Line 21-28 – Traverse in faces detected and detect landmarks.
- Line 24 – Convert these landmarks to np array.
- Line 27-28 – Draw the landmarks.
- Line 31 – Show the results.
- Line 33-34 – If anyone hits the ESC key, break the code and exit.
- Line 36-37 – Release the webcam and destroy all open windows.
Results
68 Face Landmark Result

5 Face Landmark Result

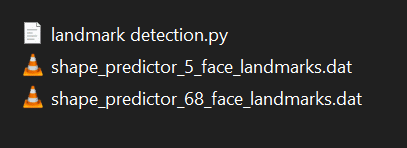
Folders Hierarchy…
Download Files
Download 5 point dlib file…
Download 68 point dlib file…
Do let me know if there’s any query regarding Face Landmarks Detection by contacting me by email or LinkedIn.
So this is all for this blog folks, thanks for reading it and I hope you are taking something with you after reading this and till the next time ?…
Read my previous post: HARRY’S INVISIBILITY CLOAK
Check out my other machine learning projects, deep learning projects, computer vision projects, NLP projects, Flask projects at machinelearningprojects.net.