Hey guys in this blog we will discuss how we can read Redshift data from Sagemaker Notebook using credentials stored in the secrets manager. So without any further due, Let’s do it…
Step 1 – Creating a Secret in Secrets Manager
- Search for Secrets Manager
- Click on ‘Store a New Secret’.
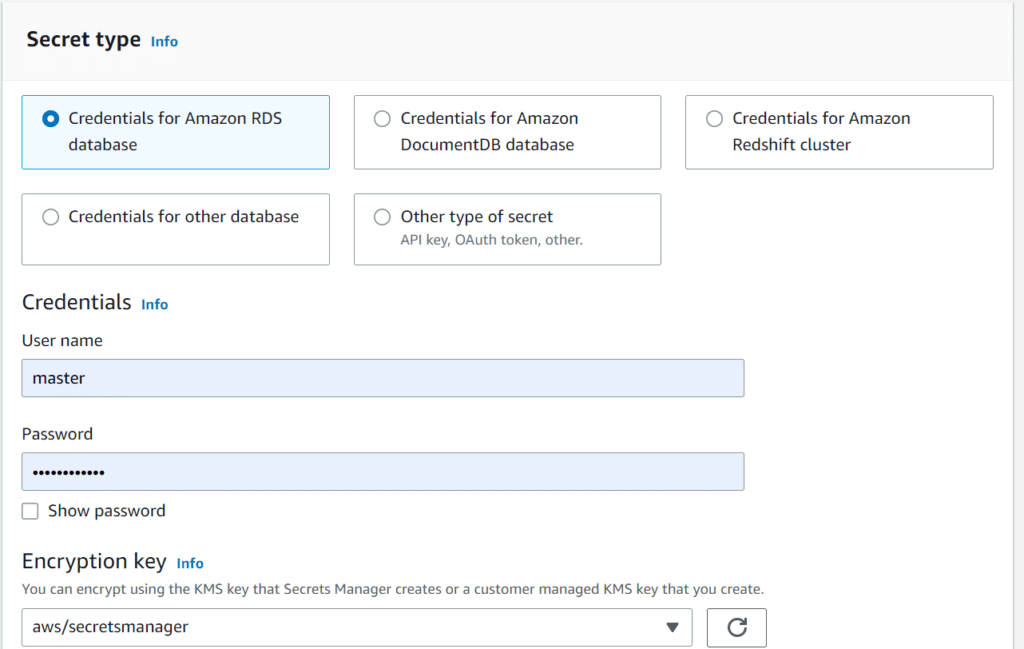
- Choose Secret Type as ‘Credentials for Amazon RDS database’.
- Then add your database username and password.
- And then finally select the database and click on ‘Next’.
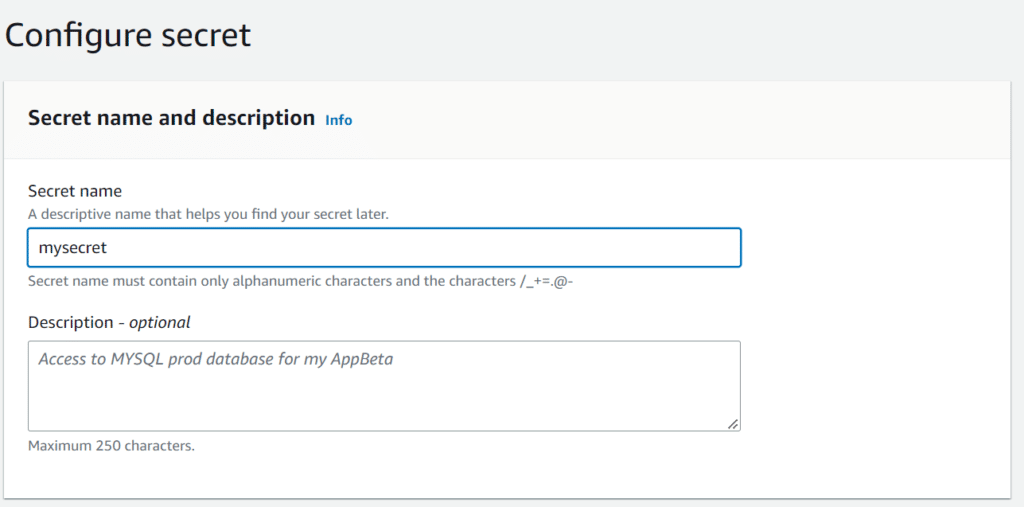
- Then in the next step, give your secret a name, I will name it ‘mysecret’.
- Click on Next and you will reach step 3 (Configure rotation – optional).
- Again click on ‘Next’ and skip Step 3.
- In Step 4 it will ask to review, and finally, click ‘Store’.
- Refresh the page and your secret will show up.

- Click on your secret.
- Now scroll a bit and you will find ‘Secret Value’.

- Click on ‘Retrieve secret value’ and it will open all the details present in this secret instance.
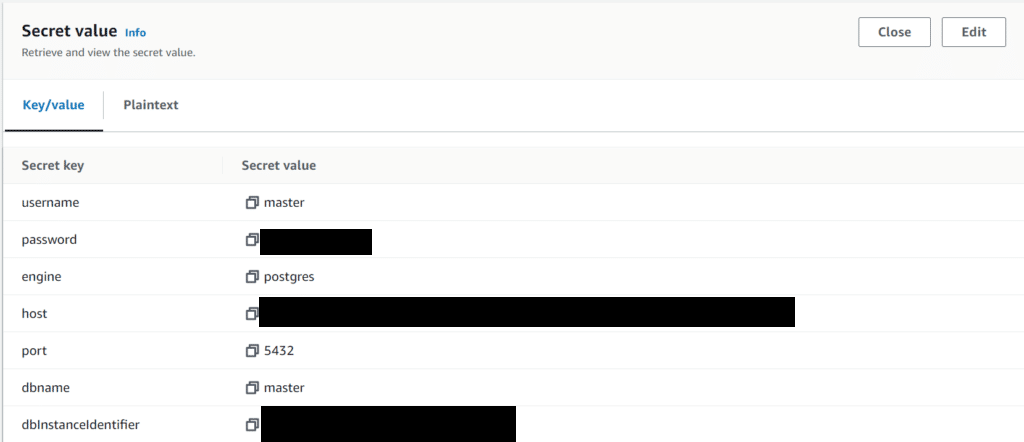
- Now Click on edit and we will add 2 new entries.
- Click on ‘Add row’ and add the following 2 entries.
- Replace yourdbname with your database name and yourredshiftclustername with your redshift cluster name.

- Click on Save and it’s Done 🙂
Step 2 – Importing required packages
- Here we are simply importing the required python packages that will help us to read Redshift data from Sagemaker Notebook.
import botocore.session as s
from botocore.exceptions import ClientError
import boto3.session
import json
import boto3

from botocore.exceptions import WaiterError
from botocore.waiter import WaiterModel
from botocore.waiter import create_waiter_with_client

import pandas as pd
Step 3 – Define a waiter
- Here we are simply defining the configuration of a waiter that we will define ahead.
# Create custom waiter for the Redshift Data API to wait for finish execution of current SQL statement
waiter_name = 'DataAPIExecution'

delay=2
max_attempts=3

#Configure the waiter settings
waiter_config = {
  'version': 2,
  'waiters': {
    'DataAPIExecution': {
      'operation': 'DescribeStatement',
      'delay': delay,
      'maxAttempts': max_attempts,
      'acceptors': [
        {
          "matcher": "path",
          "expected": "FINISHED",
          "argument": "Status",
          "state": "success"
        },
        {
          "matcher": "pathAny",
          "expected": ["PICKED","STARTED","SUBMITTED"],
          "argument": "Status",
          "state": "retry"
        },
        {
          "matcher": "pathAny",
          "expected": ["FAILED","ABORTED"],
          "argument": "Status",
          "state": "failure"
        }
      ],
    },
  },
}
Step 4 – Retrieve DB details from AWS Secrets Manager
In this step, we will retrieve details from our secret. Mainly we need to retrieve following items from AWS Secrets Manager-
- Cluster Identifier
- Secrets ARN
- Database name
secret_name = 'mysecret' ## replace the secret name with yours
session = boto3.session.Session()
region = session.region_name

client = session.client(
        service_name='secretsmanager',
        region_name=region
    )

try:
    get_secret_value_response = client.get_secret_value(
            SecretId=secret_name
        )
    secret_arn=get_secret_value_response['ARN']

except ClientError as e:
    print("Error retrieving secret. Error: " + e.response['Error']['Message'])

else:
    # Depending on whether the secret is a string or binary, one of these fields will be populated.
    if 'SecretString' in get_secret_value_response:
        secret = get_secret_value_response['SecretString']
    else:
        secret = base64.b64decode(get_secret_value_response['SecretBinary'])

secret_json = json.loads(secret)
print(secret_json)

cluster_id=secret_json['dbClusterIdentifier']
db=secret_json['db']
print("Cluster_id: " + cluster_id + "\nDB: " + db + "\nSecret ARN: " + secret_arn)
bc_session = s.get_session()

session = boto3.Session(
        botocore_session=bc_session,
        region_name=region,
    )

# Setup the client
client_redshift = session.client("redshift-data")
print("Data API client successfully loaded")
Step 5 – Initiating Waiter
- Creating a waiter object that will wait and make retries for data extraction.
waiter_model = WaiterModel(waiter_config)
custom_waiter = create_waiter_with_client(waiter_name, waiter_model, client_redshift)
Step 6 – Define the SQL Query
- Here we have defined the SQL Query that we need to run on tables present in Redshift.
query_str = 'select drugprimaryname,drugnamesynonyms from "masterdb"."raw".raw_drugs'
Step 7 – Run the Query
- And finally, we will run the query here in this step.
- This is the line where we will get our data -> output = client_redshift.get_statement_result(Id=id)
res = client_redshift.execute_statement(Database= db, SecretArn= secret_arn, Sql= query_str, ClusterIdentifier= cluster_id)
id = res["Id"]

try:
    custom_waiter.wait(Id=id)
    print("Done waiting to finish Data API.")
except WaiterError as e:
    print (e)

desc=client_redshift.describe_statement(Id=id)
print("Status: " + desc["Status"] + ". Excution time: %d miliseconds" %float(desc["Duration"]/pow(10,6)))

output = client_redshift.get_statement_result(Id=id)
print('Result Extracted Successfully!!!')
Step 8 – Extracting data and create a DataFrame of it
Here is a simple logic that will simply create a dataframe out of your extracted data.
## Getting column names
cols = []
for i in output['ColumnMetadata']:
    cols.append(i['label'])


## Extracting records
l = []
for i in range(len(output['Records'])):
    temp = []
    for j in output['Records'][i]:
        temp.append(j['stringValue'])
    l.append(temp)

## Creating Dataframe
df = pd.DataFrame(l,columns=cols)
df.head(10)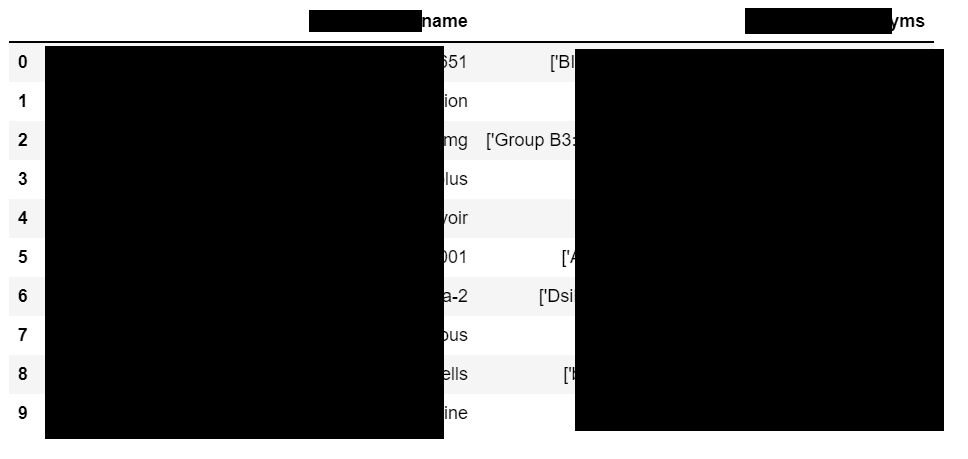
And here is our dataframe, though I have hidden the content…
Download Notebook
And this is how you can read Redshift data from Sagemaker Notebook.
So this is all for this blog folks, thanks for reading it and I hope you are taking something with you after reading this and till the next time ?…
Read my previous post: Easiest way to schedule a Python Script in AWS Glue as a Job
Check out my other machine learning projects, deep learning projects, computer vision projects, NLP projects, Flask projects at machinelearningprojects.net