
Today we are gonna make a very fun application in Python in which we will be Rotating and Scaling Images in cv2. This is going to be a very simple and interesting project, so without further due, let’s do it…
Step 1 – Import the libraries required for Rotating and Scaling Images in cv2.
import cv2
Step 2 – Let’s read the image.
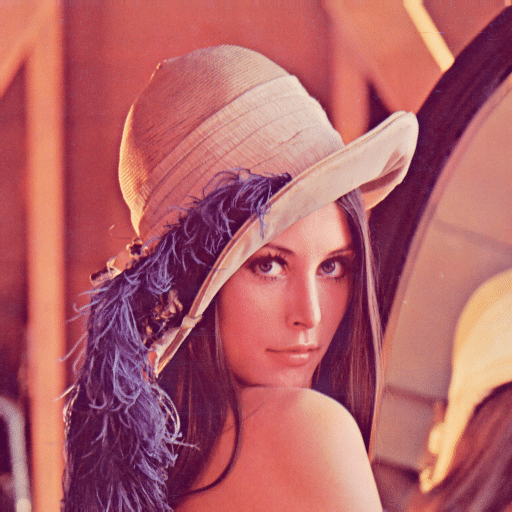
img = cv2.imread('lena_color_512.tif')
height, width, channels = img.shape
- Here we are simply reading the image.
- And extracting its height, width, and channels using img.shape
Step 3 – Initialize some values.
angle = 0
scale = 0.1
mode = 'expand'
Let’s set the initial angle value to 0, the scale to 0.1, and the mode to expand mode.
Step 4 – Rotating and Scaling Images in cv2…
Syntax: cv2.warpAffine(src, transformation matrix, desired output size)
Syntax : cv2.getRotationMatrix2D(center of rotation, anticlockwise angle, scale)
 while(1):
    angle += 1
    if angle == 360:
         angle = 0
    if mode == 'shrink':
        scale -= 0.02
    if mode == 'expand':
        scale += 0.02
    if scale > 1:
        mode = 'shrink'
    if scale < 0.1:
        mode = 'expand'
    r = cv2.getRotationMatrix2D((width/2, height/2), angle, scale)
    shifted_image = cv2.warpAffine(img, r, (width, height))
    cv2.imshow('rotating image !!', shifted_image)
    if cv2.waitKey(1) == 27:
        break
- Line 2 – while running this infinite loop we are simply increasing the angle in every iteration so that our image is rotated by 1 degree more in the next frame.
- Line 3-4 – if the angle becomes 360 degrees, reset it to 0 degrees instead of 361 degrees.
- Line 5-6 – if we are in shrink mode, reduce the scale by 0.02 at every consecutive frame.
- Line 7-8 – if we are in expand mode, increase the scale by 0.02 at every consecutive frame.
- Line 9-10 – while in expansion mode if scale increases 1, switch the mode to shrink mode.
- Line 11-12 – while in shrink mode if the scale gets lower than 0.1, switch the mode to expand mode.
- Line 13-14 – we are asking the cv2.getRotationMatrix2D() in Line 13 to give us a matrix, which will apply these rotations and scaling effects to the image in Line 14 using the cv2.warpAffine() function.
- Line 15 – We are just continuously showing our results.
- Line 16-17 – If we hit the ESC key, break the code and STOP.
Let’s see the whole code…
import cv2
import time

img = cv2.imread('lena_color_512.tif')
height, width, channels = img.shape

angle = 0
scale = 0.1
mode = 'expand'

while(1):
    angle += 1

    if angle == 360:
        angle = 0

    if mode == 'shrink':
        scale -= 0.02

    if mode == 'expand':
        scale += 0.02

    if scale > 1:
        mode = 'shrink'
    if scale < 0.1:
        mode = 'expand'

    r = cv2.getRotationMatrix2D((width/2, height/2), angle, scale)
    shifted_image = cv2.warpAffine(img, r, (width, height))

    cv2.imshow('rotating image !!', shifted_image)

    if cv2.waitKey(1) == 27:
        break

cv2.destroyAllWindows()
NOTE: You can read more about cv2.warpaffine().
Do let me know if there’s any query regarding Rotating and Scaling Images in cv2 by contacting me by email or LinkedIn.
So this is all for this blog folks, thanks for reading it and I hope you are taking something with you after reading this and till the next time…
Read my previous post: HOW TO REPAIR DAMAGED IMAGES USING INPAINTING METHODS IN PYTHON USING OPENCV
Check out my other machine learning projects, deep learning projects, computer vision projects, NLP projects, Flask projects at machinelearningprojects.net.