So when starting with OpenCV the first step that everyone wants to do is obviously loading an image. So, In this very short blog, we will see how to read an image in OpenCV using Python.
This is going to be a very short and interesting blog, so without any further due, Let’s do it…
Checkout the video here – https://youtu.be/26-2A69BPow
Step 1 – Import the cv2 library to read an image.
import cv2
Step 2 – Now let’s read an image…
Syntax: cv2.imread(path, flag)
Parameters:
| path | A string representing the path of the image to be read. |
| flag | It specifies the way in which the image should be read. It’s default value is cv2.IMREAD_COLOR. If it’s 0 it will read our image in grayscale mode and if it’s 1 it will take it as it is. |
imgpath = "test.tif"
img = cv2.imread(imgpath)
- In 2nd line, we are actually reading the image using the imread function of the cv2 module.
- Now we have our image array in the ‘img’ variable.
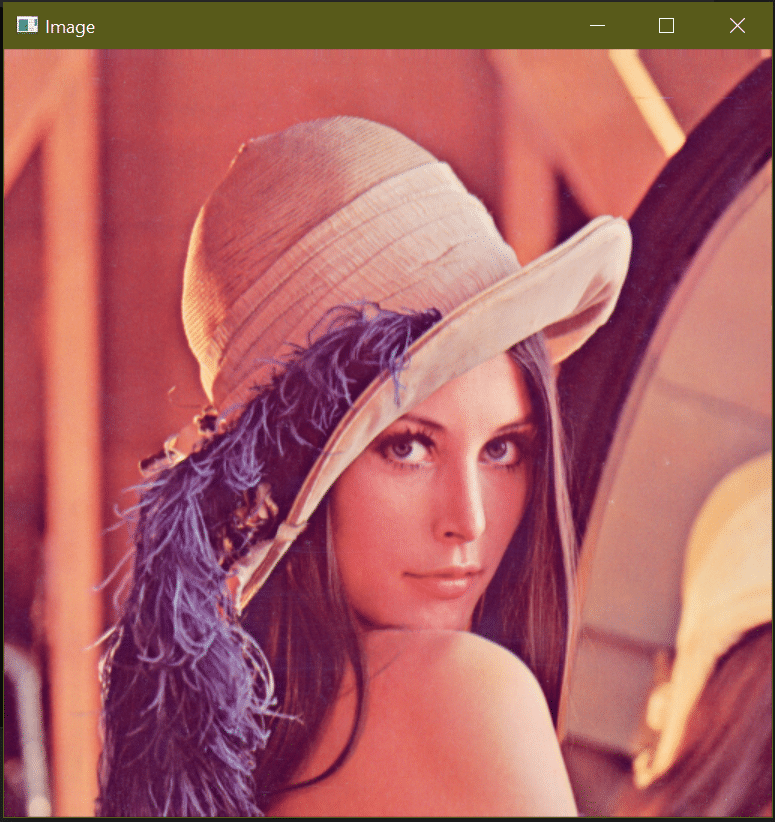
Step 3- Visualize the image.
cv2.imshow('Image',img)
- We are using the inbuilt imshow function of the cv2 library to visualize the image. As we can see that there are 2 arguments passed in imshow function.
- The first argument is the name that we want to be written on our image window and the second argument is basically the image matrix (or array) that we read using imread.
cv2.waitKey(0)
cv2.destroyAllWindows()
- In the first line, we have just used the waitKey(0) function of the cv2 module to halt everything there, till our any keypress. Because if we just use cv2.imshow() without this line it will show the image window and disappear immediately in a fraction of seconds and we won’t be able to see the results.
- In line 6 we have used the destroyAllWindows() functions just to destroy all the open windows.
Let’s see the whole code …
import cv2

imgpath = "4.1.01.tiff"
img = cv2.imread(imgpath)

cv2.imshow('Image',img)

cv2.waitKey(0)
cv2.destroyAllWindows()
NOTE – Read more about reading and writing images here.
Do let me know if there’s any query regarding how to read an image by contacting me on email or LinkedIn.
So this is all for this blog folks, thanks for reading it and I hope you are taking something with you after reading this and till the next time ?…
Read my next post: HOW TO RESIZE AN IMAGE IN PYTHON USING OPENCV
Check out my other machine learning projects, deep learning projects, computer vision projects, NLP projects, Flask projects at machinelearningprojects.net.