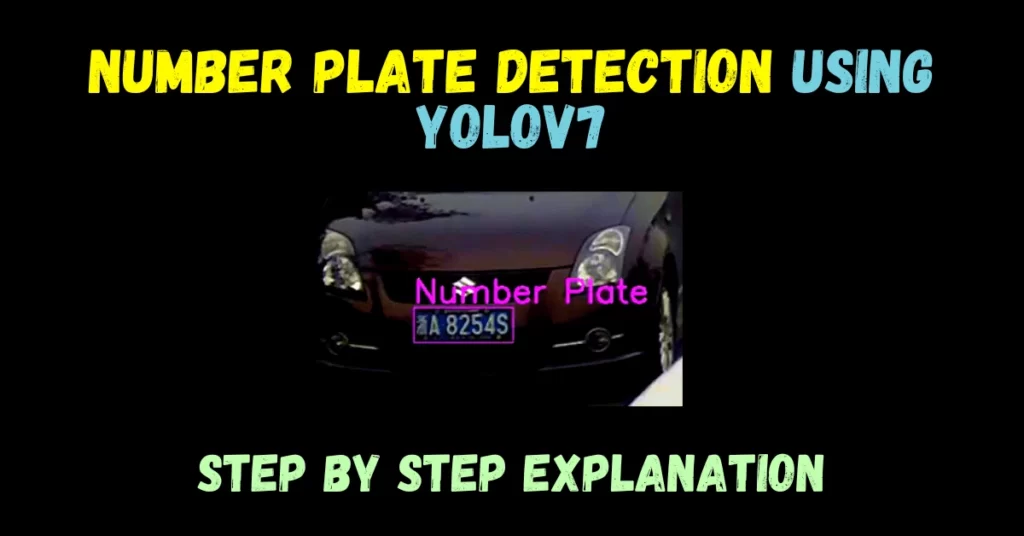
Hey guys in this blog we will see how to Train yolov7 on the custom dataset and create a Realtime Number Plate Detector.
Sneak Peek at our Output…
Introduction to YOLOv7
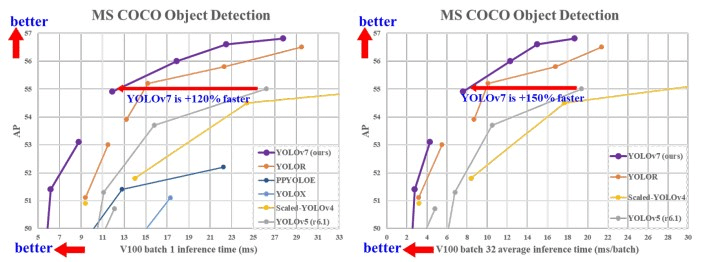
You Only Look Once (YOLO) is a popular real-time object detection system known for its speed and accuracy. YOLOv7, an evolution of previous versions, introduces enhancements that make it even more effective in detecting objects in images and videos.
Yolov7 is the new state-of-the-art real-time object detection model.
You can use it for different industrial applications. Also, you can optimize the model, that is, converting the model to ONNX, TensorRT, etc, which will increase the throughput and run the edge devices.
In this blog, we will see a step-by-step guide to Train yolov7 on the custom dataset.
So without any further due, let’s train yolov7 on the custom dataset…
Step 1 – Clone YOLOv7 Repo
Clone the yolov7 repository from GitHub by running the following command in the terminal.
git clone https://github.com/WongKinYiu/yolov7.git
Step 2 – Install requirements
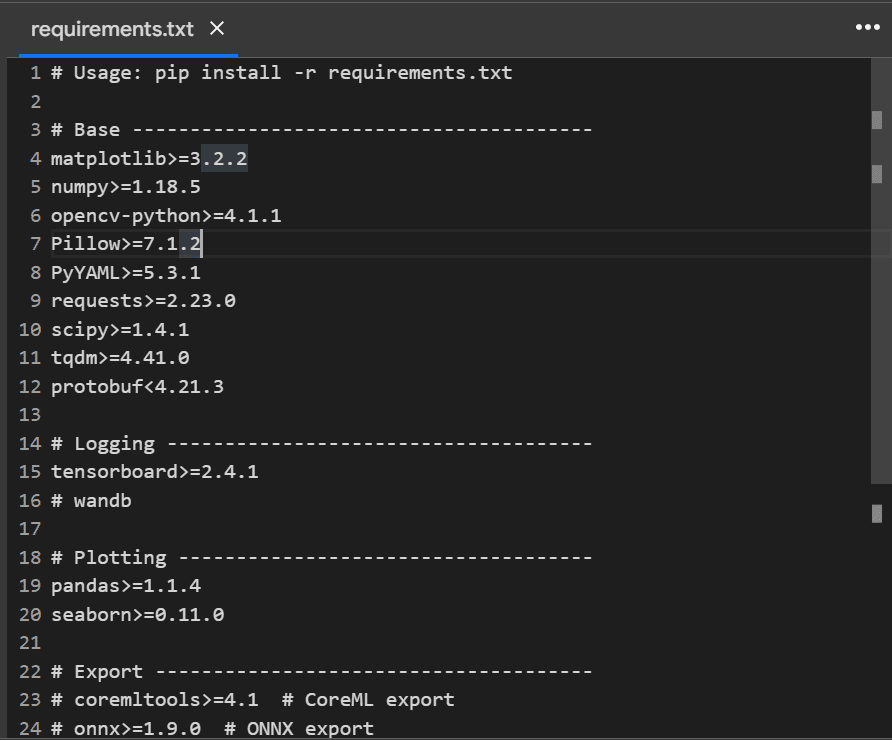
- Inside the cloned yolov7 folder you will find a file called “requirements.txt”.
- Open this File.
- Remove Line 11 and Line 12 which are torch and torchvision.
- We are doing so because we will install CUDA enabled torch and torchvision ahead.
- After removing it, your file should look like the one below.
- Create a new file called “requirements_gpu.txt” in the yolov7 folder.
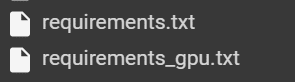
- Open this new file and paste the following content into that file.
-i https://download.pytorch.org/whl/cu113
torch==1.11.0+cu113
torchvision==0.12.0+cu113
Step 3 – Let’s Prepare the data
- Create 2 folders; ‘images’ and ‘labels’. The images folder contains all the images and the labels folder contains all the annotations.
- Create 2 folders; ‘train’ and ‘val’ in the data folder of the yolov7 directory.
- Move 80% of images and labels to the train folder and the remaining 20% to the val folders we created above.
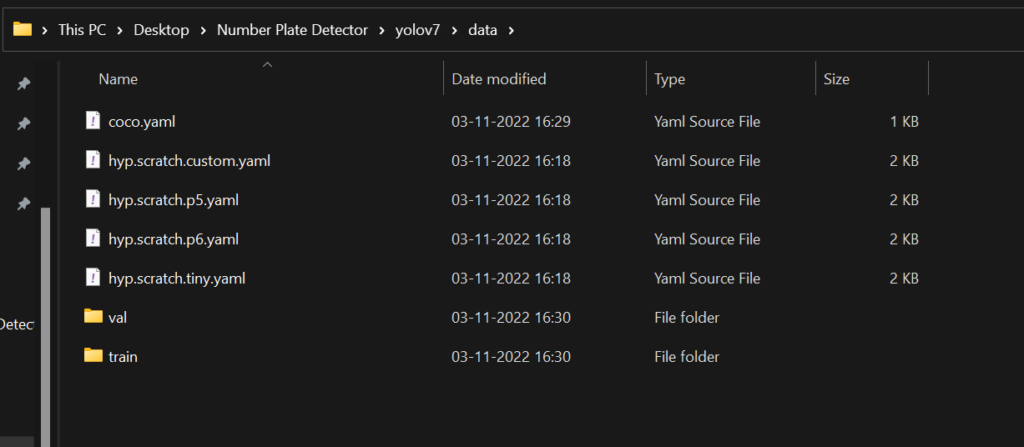
Step 4 – Editing Config Files
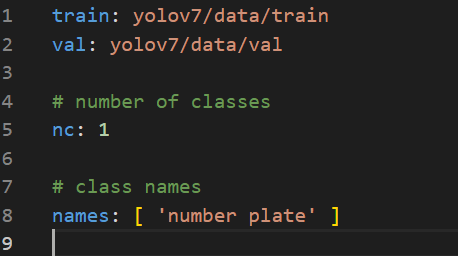
- Now open the “coco.yaml” file from the data folder and delete the first 4 lines (till the download part).
- Set ‘train: data/train‘
- Set ‘val: data/val‘
- Set ‘nc:1‘ (no of classes), Change it according to your need, I have just one class so I have set ‘nc:1‘.
- Set names:[‘number plate’], Change it according to your need. The only class in my dataset is ‘number plate’ hence my names list has only one class.
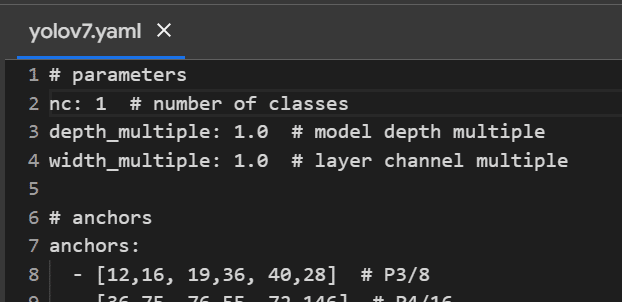
- Now open the yolov7/cfg/training and open the “yolov7.yaml” file there.
- Just make one change in line 2; change the nc (no of classes), I will set it to 1 as I only have one class.
Step 5 – Download pre-trained yolov7 weights
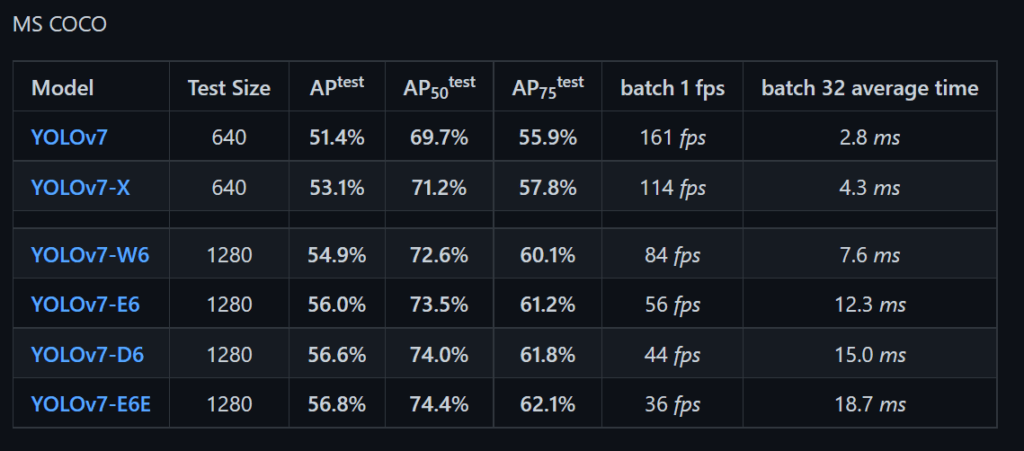
- Now we need to download pre-trained yolov7 weights.
- Open the GitHub link https://github.com/WongKinYiu/yolov7#performance and click on YOLOv7.
- Move the downloaded yolov7.pt file to the yolov7 folder.
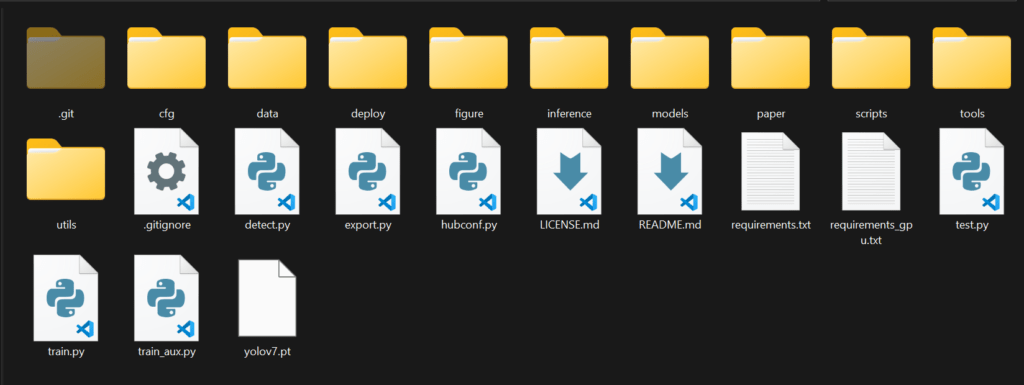
- Our yolov7 folder should look like this.
Step 6 – Let’s Train yolov7 on the custom dataset
- Open the drive and upload this folder to the drive.
- Open Colab and create a new notebook. Set the runtime to GPU. Runtime > Change runtime type > GPU.
- Run the following cell in the Colab Notebook.
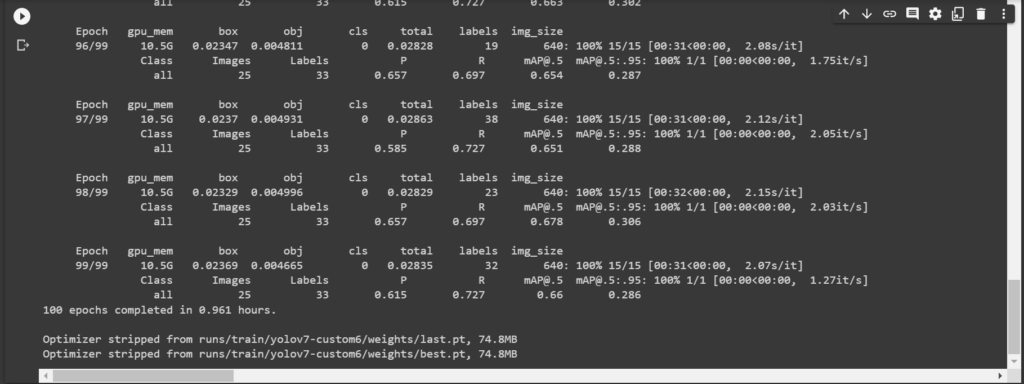
- If everything you did till now was correct, your training will start.
from google.colab import drive
drive.mount('/content/drive')

!pip install -r drive/MyDrive/yolov7/requirements.txt
!pip install -r drive/MyDrive/yolov7/requirements_gpu.txt

%cd drive/MyDrive/yolov7/
!python train.py --workers 1 --device 0 --batch-size 16 --epochs 100 --img 640 640 --hyp data/hyp.scratch.custom.yaml --name yolov7-custom --weights yolov7.pt
- You can change the epochs according to your need.
- Also, you can change the batch size according to your GPU. If the training gives a memory error, try reducing it.
- As we are doing our training in the Colab Environment, we get a very good GPU for free, hence we can set the batch size to 16.
Step 7 -Testing our custom Model
- Copy the “best.pt” weight file from the yolov7/runs/train/yolov7-custom/weights and paste it into the yolov7 folder.
- Now in the yolov7 folder run the following test command.
- Change the image name according to your need.
- You can also replace it with a video name if you want to run it on a Video.
!python detect.py --weights best.pt --conf 0.5 --img-size 640 --source img.jpg --view-img --no-trace
For Colab Environment run the following command, because e can’t view image in Colab.
!python detect.py --weights best.pt --conf 0.5 --img-size 640 --source 1.mp4 --no-trace
Output
NOTE – If you ever need to change data in the ‘yolov7/data’ folder, make sure to delete cache files.
Fine-tuning and Optimization
Fine-tuning involves further refining the model’s parameters to improve its accuracy and robustness. Optimization techniques such as gradient descent and learning rate scheduling help accelerate convergence and prevent overfitting.
Evaluation Metrics
To assess the performance of the trained model, various evaluation metrics such as precision, recall, and mean average precision (mAP) are used. These metrics provide insights into the model’s ability to detect objects accurately.
Conclusion
Training YOLOv7 on custom datasets offers a powerful solution for object detection tasks across various domains. By following the outlined steps and leveraging its advanced capabilities, users can develop highly accurate and efficient models tailored to their specific requirements.
So in this way, you can Train yolov7 on the custom dataset in the easiest way possible.
FAQs
Can YOLOv7 be trained on limited data?
Yes, YOLOv7 can be trained on limited data, but the quality and diversity of the data are crucial for achieving satisfactory performance.
Is YOLOv7 suitable for real-time applications?
Yes, YOLOv7 is optimized for real-time inference, making it ideal for applications that require fast and accurate object detection.
What types of objects can YOLOv7 detect?
YOLOv7 can detect a wide range of objects, including people, vehicles, animals, and various everyday objects.
How often should YOLOv7 models be retrained?
The frequency of retraining YOLOv7 models depends on factors such as the evolution of the dataset and changes in the environment or application requirements.
Can YOLOv7 be deployed on edge devices?
Yes, YOLOv7’s efficient architecture allows it to be deployed on edge devices with limited computational resources, enabling real-time inference in decentralized systems.
Read my last post on – Best Data Science Resources
Check out my other machine learning projects, deep learning projects, computer vision projects, NLP projects, and Flask projects at machinelearningprojects.net

Hi, great tutorial, thanks.
after this output = output_to_keypoint(output), output is empty, I performed all the steps but with the version of CUDA 11.7 and Torch 1.13 and Torchvision 0.14
Version mismatch is a huge problem according to me.
Try the mentioned torch and torchvision versions with your preinstalled CUDA 11.7
I think that will also work.
any way to export this model after training that later on we can deploy to use it through webcam
This model is automatically getting stored in yolov7/runs/train/yolov7-custom/weights folder… We have used ‘best.pt’ to make inference in the last step…
Hello,
Thanks for sharing this. How we can implement this on live video?
Hi, inside the data folder their are two directories train and val, and inside them we again have labels and images right?
So we have
data
– train
—images
—labels
– val
—images
—labels