So guys here comes one of the most advanced data science medical projects that I have done till now in my whole Data Science journey. It is called HealthCure which is an all-in-one medical solution. We know the future is all about AI so here is my idea of bringing 7 disease detections under one platform using the power of AI. Although these results are perfect yet an experiment we did, which can prove to be a revolution in the coming years.
The main advantage of this project is that we can get the test results immediately at our home with a just few clicks.
7 disease detections:
- Covid-19 Detection
- Brain Tumour Detection
- Breast Cancer Detection
- Alzheimer Detection
- Diabetes Detection
- Pneumonia Detection
- Heart Disease Detection
A quick recap of Convolutional Neural Networks…
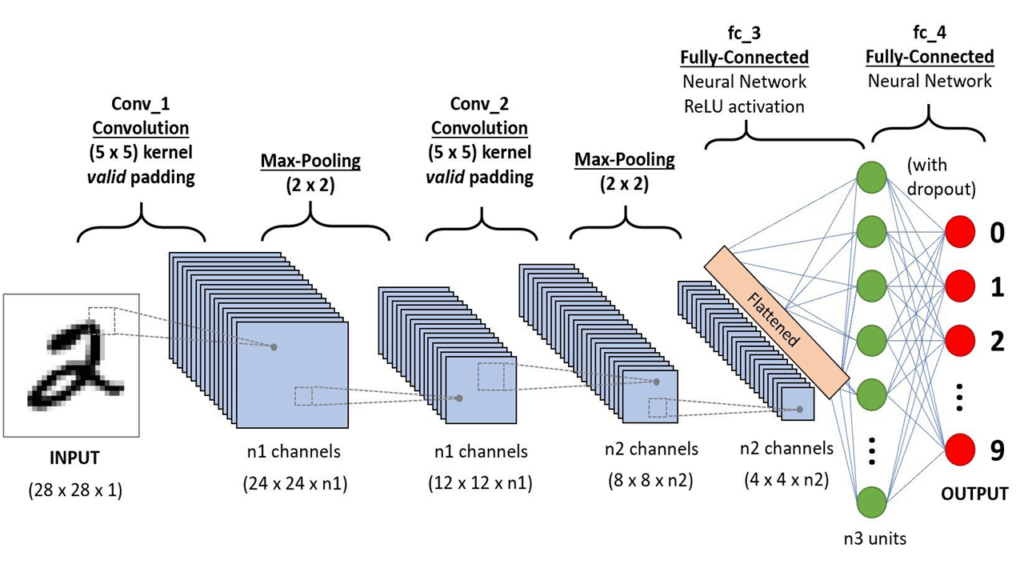
- A Convolutional Neural Network (ConvNet/CNN) is a Deep Learning algorithm that can take in an input image, assign importance (learnable weights and biases) to various aspects/objects in the image, and be able to differentiate one from the other.
- The pre-processing required in a ConvNet is much lower as compared to other classification algorithms. While in primitive methods filters are hand-engineered, with enough training, ConvNets have the ability to learn these filters/characteristics.
- The architecture of a ConvNet is analogous to that of the connectivity pattern of Neurons in the Human Brain and was inspired by the organization of the Visual Cortex.
- A ConvNet is able to successfully capture the Spatial and Temporal dependencies in an image through the application of relevant filters.
- The role of ConvNet is to reduce the images into a form that is easier to process, without losing features that are critical for getting a good prediction.
All Disease Detections…
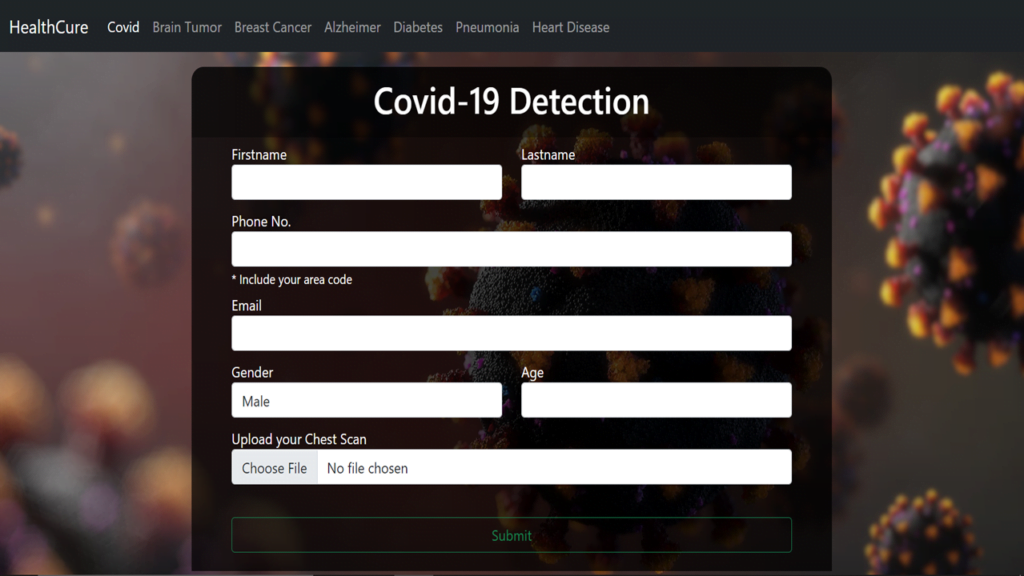
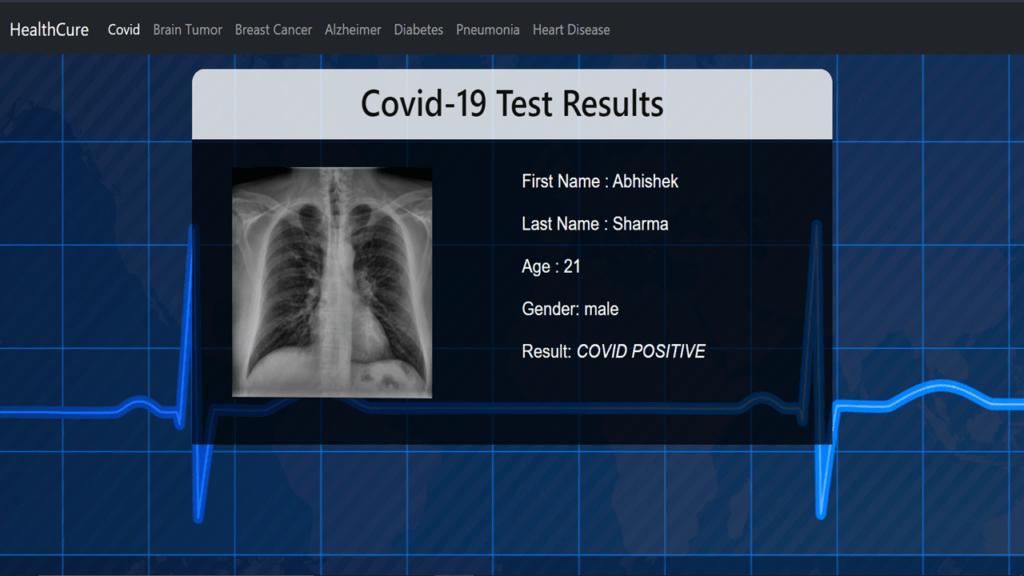
Covid-19 Detection
- Used custom-made CNN architecture for this detection.
- The accuracy achieved was around 93%.
Main Page
Results
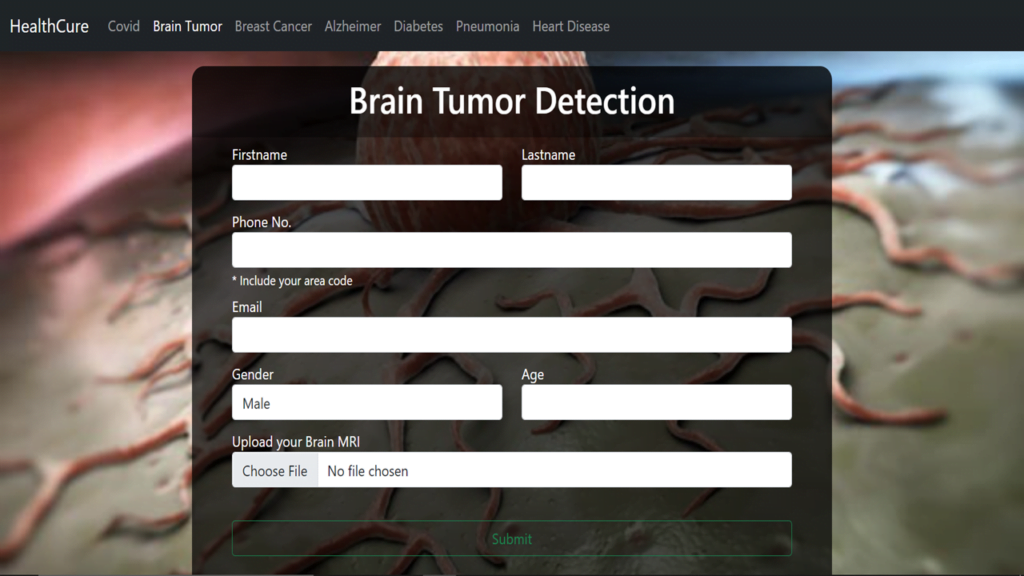
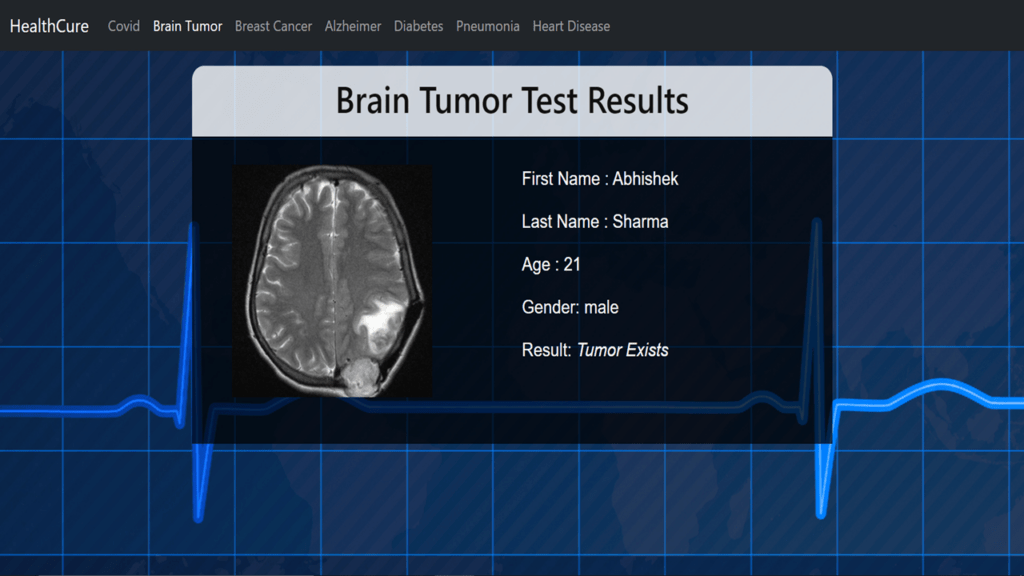
Brain Tumour detection
- Used VGG-16 for feature extraction.
- Used custom-made CNN ahead of CNN.
- The accuracy achieved was around 100% ?(just tested on 10 images).
Main Page
Result Page
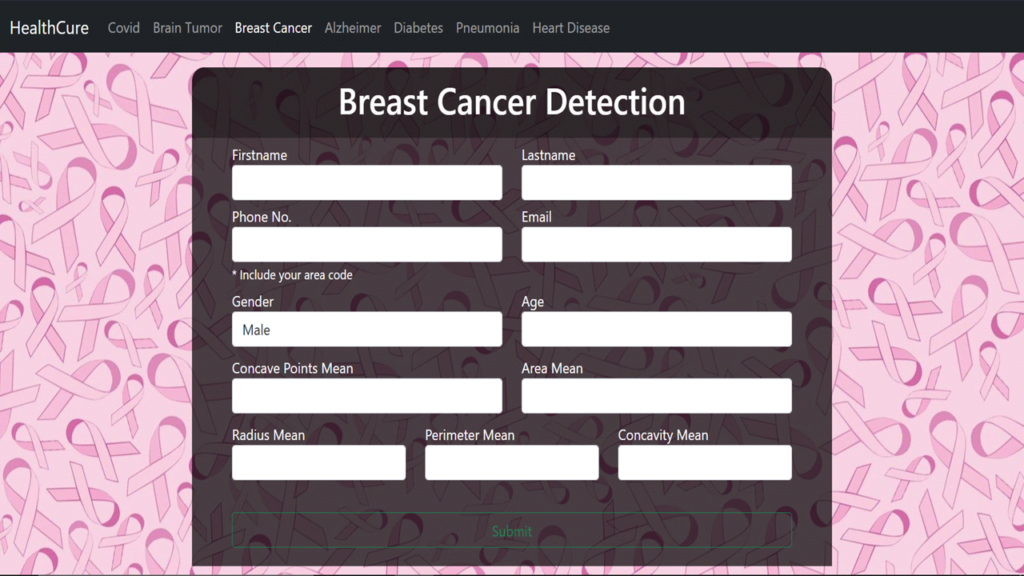
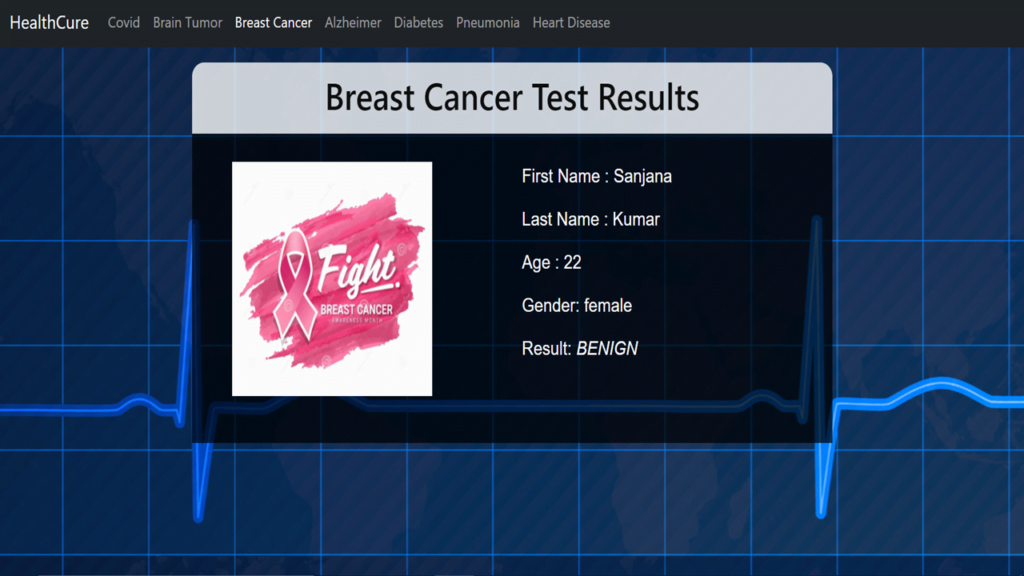
Breast Cancer Detection
- Used Random Forest for this use case.
- The accuracy achieved was around 91.81%.
Main Page
Result Page
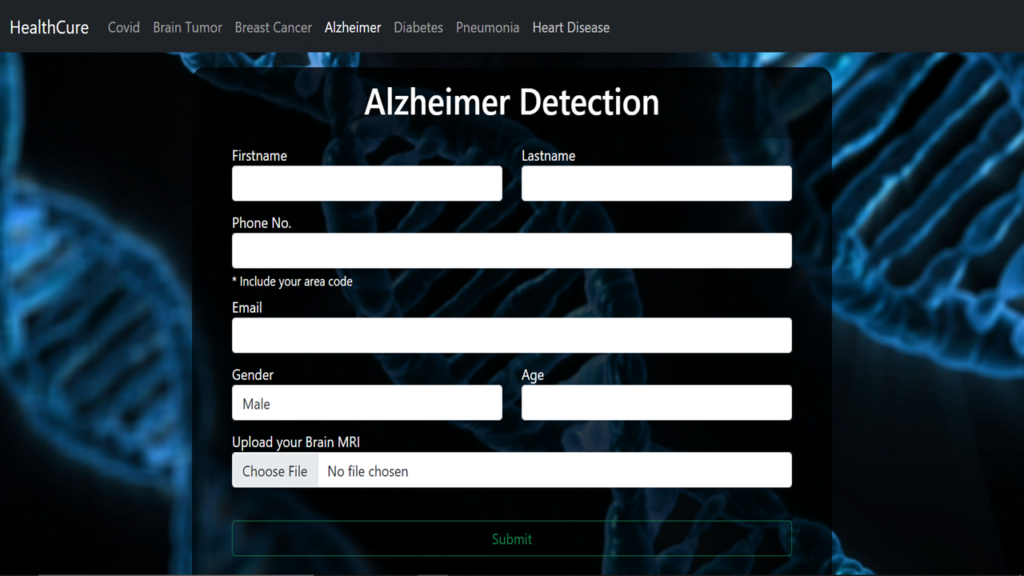
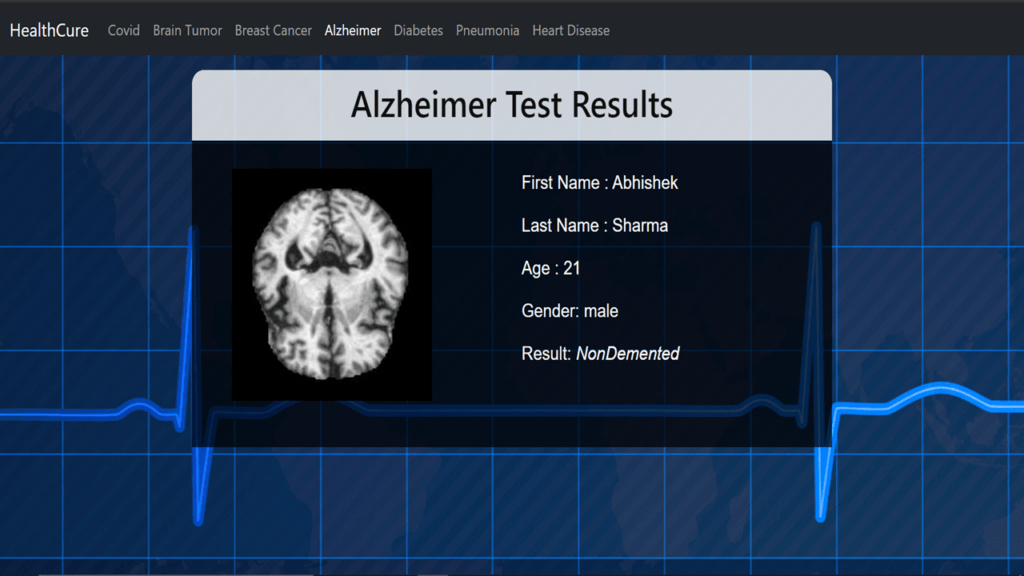
Alzheimer Detection
- Trained CNN architecture for this use case.
- The accuracy achieved was around 73.54%.
Main Page
Result Page
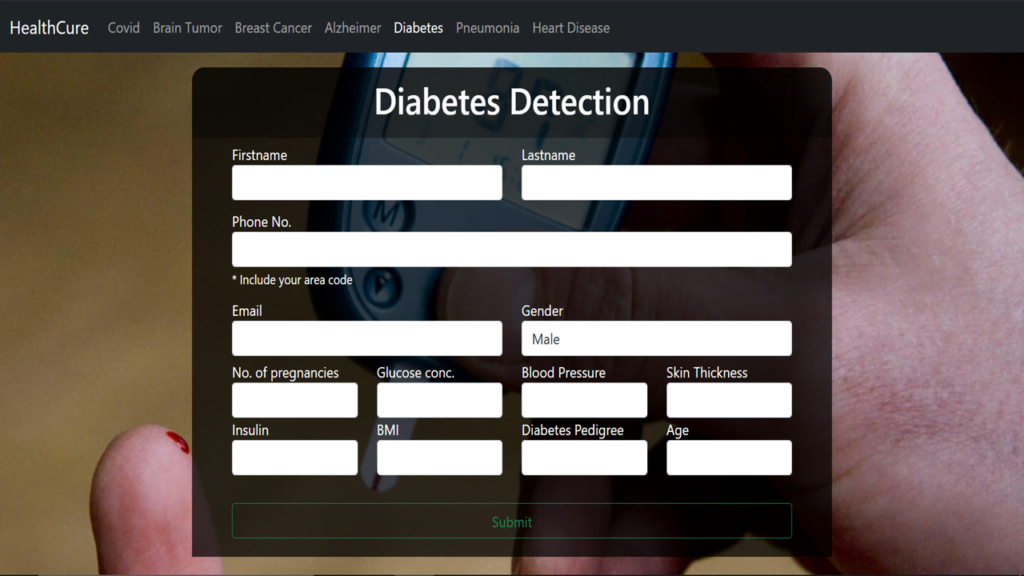
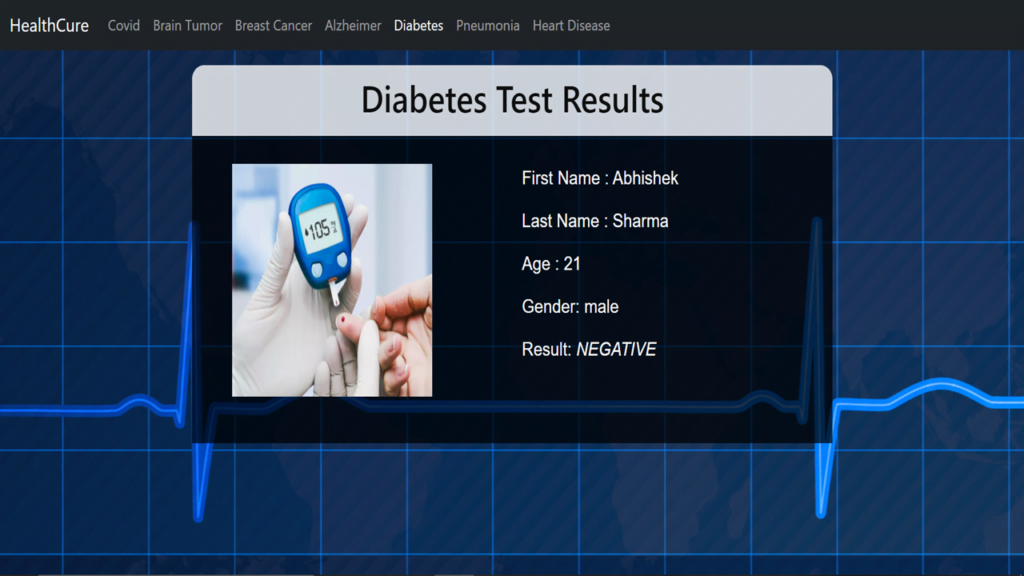
Diabetes detection
- Used Random Forest for this use case.
- The accuracy achieved was around 66.8%.
Main Page
Result Page
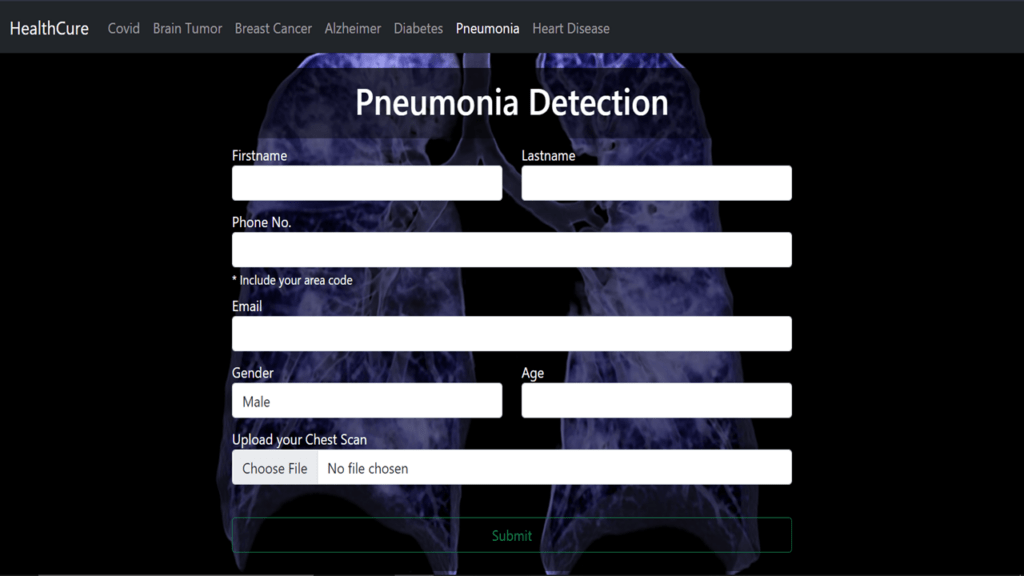
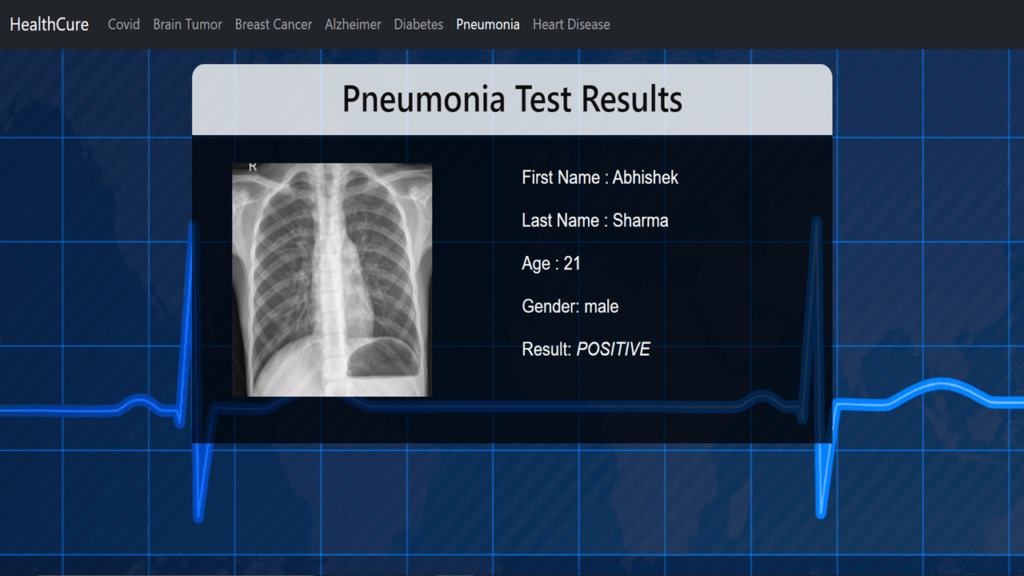
Pneumonia Detection
- Used custom CNN architecture for this use case.
- The accuracy achieved was around 83.17%.
Main Page
Result Page
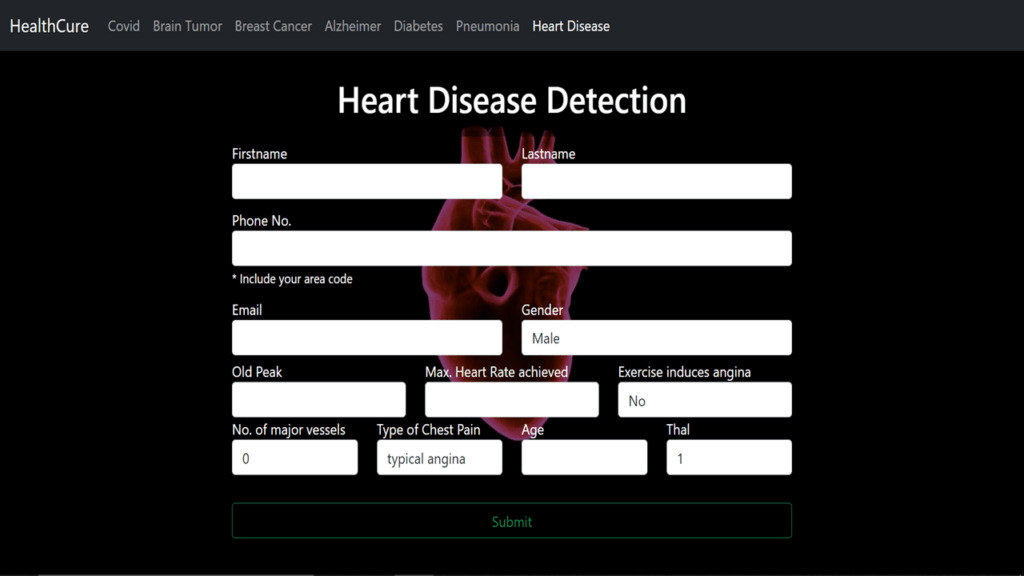
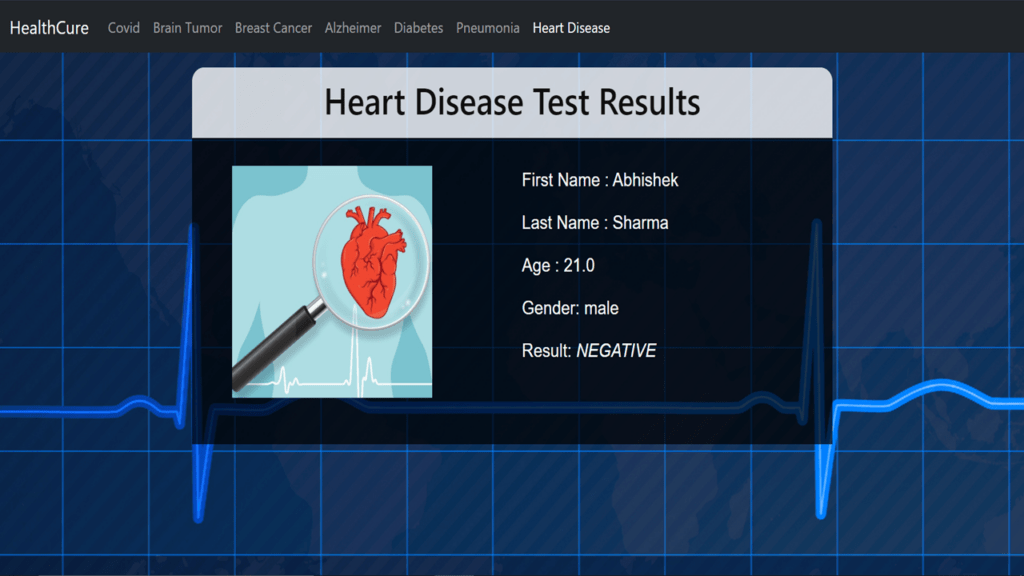
Heart Disease Detection
- Used XGBoost for this use case.
- The accuracy achieved was around 86.96%.
Main Page
Result Page
Future Scope…
- As time passes, we will be available with more and more data and we will try to make our models even more accurate by training on much more data.
- Also, we will be adding more disease detections that can be detected using X-ray scans or just by inputting simple numbers.
- We are also planning to add more features like if a person is found positive then our app will show him what precautions he needs to take and how he can cure himself.
- We will also be storing the detection records.
- So these are some future improvements/additions we plan to add.
How to run the project
Video Tutorial
Checkout the video tutorial here – https://youtu.be/psaMKTPdgIo
Download the app from here
Create a conda environment and install the required libraries
conda create -n healthcure python=3.9.13
conda activate healthcure
pip install opencv-python==4.5.1.48 numpy tensorflow==2.12.0 scikit-learn==0.24.2 imutils==0.5.4 flask==3.0.0 xgboost==2.0.3
When you have successfully created the environment, installed the required libraries, and activated it, simply run the following command in the terminal.
flask run
NOTE – This was my college major project which I did with the help of my 1 more teammate Yash Kelkar.
About Training Code, PPT, and Project Report…
Also, I am getting a very high number of requests for Training Files, PPT, and Project reports. So I have finally decided to share those with the people who are in real need. But as you know quality doesn’t come for free…
So, If you are really interested and want all the resources which include Training Code + App + PPT + Project Report, you have to pay a minimalistic fee of ₹500 and send me the payment screenshot at asharma70420@gmail.com.
You can Pay using the button below…
Do let me know if there’s any query regarding data science projects or medical projects by contacting me via email or LinkedIn.
So this is all for this blog folks, thanks for reading it and I hope you are taking something with you after reading this and till the next time …
Read my previous post: OBJECT DETECTION USING SSD
Check out my other machine learning projects, deep learning projects, computer vision projects, NLP projects, and Flask projects at machinelearningprojects.net


bro give this code ,project and ppt reply this comment so i can pay for this
Hi. I like your project. Could you please provide any suggestions on the methods used for CNN and Random Forest used in the existing system ?
Hi bro