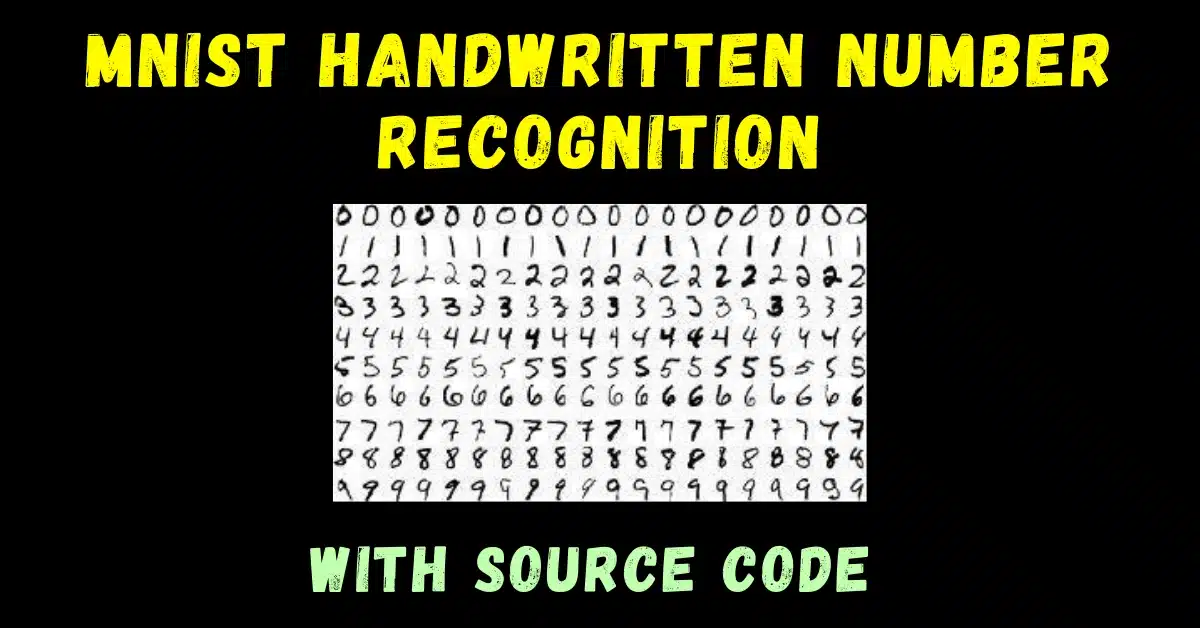
In today’s blog, we will be performing MNIST Handwritten Number Recognition, using Deep Neural Networks. It means that we will be actually coding a deep neural network. It is going to be a very fun project, so without any further due, Let’s do it…
Step 0 – Create conda environment
conda create -n mnist python=3.9
conda activate mnist
pip install tensorflow==1.14.0
Step 1 – Importing required libraries.
import tensorflow as tf
from tensorflow.examples.tutorials.mnist import input_data

tf.__version__
NOTE – I have used TensorFlow 1.14.0 here for the sake of simplicity because tensorflow.examples is removed in TensorFlow version 2.0 and above.
Step 2 – Loading the mnist data.
# MNIST Handwritten Number Recognition
mnist = input_data.read_data_sets("MNIST_data/" , one_hot=True)
- It will download and save our mnist data in a folder named MNIST_data.
- Also, we have passed an argument called one_hot which will ensure that our labels are one_hot encoded.
Step 3 – Building the MNIST Handwritten Number Recognition model.
input_size=784
hidden_layer_size=65
output_size=10

tf.reset_default_graph()

inputs = tf.placeholder(tf.float32,[None,input_size])
targets = tf.placeholder(tf.float32,[None,output_size])

weights_1 = tf.get_variable('weights_1',[input_size,hidden_layer_size])
biases_1  = tf.get_variable('biases_1',[hidden_layer_size])
outputs_1 = tf.nn.relu(tf.matmul(inputs,weights_1)+biases_1)

weights_2 = tf.get_variable('weights_2',[hidden_layer_size,hidden_layer_size])
biases_2  = tf.get_variable('biases_2',[hidden_layer_size])
outputs_2 = tf.nn.relu(tf.matmul(outputs_1,weights_2)+biases_2)


weights_3 = tf.get_variable('weights_3',[hidden_layer_size,output_size])
biases_3  = tf.get_variable('biases_3',[output_size])
output = tf.matmul(outputs_2,weights_3)+biases_3


loss = tf.nn.softmax_cross_entropy_with_logits_v2(logits=output, labels=targets)
mean_loss = tf.reduce_mean(loss)
optimizer = tf.train.AdamOptimizer(learning_rate=0.001).minimize(mean_loss)

output_equals_target = tf.equal(tf.math.argmax(output,1),tf.math.argmax(targets,1))
accuracy = tf.reduce_mean(tf.cast(output_equals_target,tf.float32))

print('Model Created!!!')
- Line 1-3 – Initializing some variables.
- Line 5 – Reset the TensorFlow graph. This line proves to be useful when we have made some changes in our program and we need to start fresh with TensorFlow.
- Line7-8 – Creating placeholders for input images and output labels. Our input images will come in batches (the size we don’t know till now that’s why we have passed None as the first size) and these 28X28 images will be flattened that’s why 784 is taken as the second size.
- A placeholder can be thought of as a box, in which we can put any value of the size mentioned above. It is fed using a feed dictionary, you will see further in the program.
- A variable as the name suggests can change its value throughout the program.
- Line 10-12 – The first layer, initializing random weights and biases and calculating output as (Input*weights)+biases. This is a simple line equation y=mx+c.
- Line 14-16 – Second layer.
- Line 19-21 – Third layer.
- Line 24 – Simply calculate the loss between the output our model is giving and the output it should give(target) using ‘tf.nn.softmax_cross_entropy_with_logits_v2()’ where logits are our outputs and labels are the correct output we are expecting.
- Line 25 – Take the mean of loss.
- Line 26 – Initialize Adam optimizer and ask it to minimize the mean loss.
- Line 28 – 29 – Create functions to check accuracy. tf.equal will compare two arrays and will give 1 where elements are equal and will give 0 where elements are not equal. We are using cast to convert the int array to float array.
- suppose two arrays arr1 = [1,3,2,4,5] arr2 = [1,2,3,4,5]. When we will aplly tf.equal on it it will give result as [1,0,0,1,1].
- In our case, we are using argmax to take out the element from the one-hot encoded array. Suppose our model give output as o = [0,0,0,0,0.99,0,0.01,0,0,0] then argmax(o) will be 4 means position at which maximum element is present. Our target in this case will be t = [0,0,0,0,1,0,0,0,0,0] argmax(t) will also be 4 so tf.equal(4,4) will be 1. But we have only taken one case here. In original training, it will perform the same operation for a big output and target array.
Step 4 – Creating an interactive tensorflow session.
sess = tf.InteractiveSession()
initializer = tf.global_variables_initializer()
sess.run(initializer)
- tf.InteractiveSession() is used to declare a tensorflow session.
- A TensorFlow session is an environment in which all the TensorFlow operations are performed.
- Then we are initializing a global_variable_initializer which will initialize all variables we have declared while creating our model(weights and biases).
- Simple running our initializer using sess.run(initializer). We need to use sess.run() everywhere where we need to perform an action in TensorFlow. Just declaring like line 2 is not enough.
Step 5 – Initialize some variables.
batch_size = 100
no_of_batches = mnist.train._num_examples // batch_size
max_epochs = 15
Step 6 – Training the MNIST Handwritten Number Recognition model.
for epoch_number in range(max_epochs):
current_epoch_loss = 0
for batch in range(no_of_batches):
input_batch , target_batch = mnist.train.next_batch(batch_size)
_,batch_loss = sess.run([optimizer,mean_loss], feed_dict={inputs:input_batch , targets:target_batch})
current_epoch_loss+=batch_loss
current_epoch_loss /=no_of_batches
validation_input , validation_targets = mnist.validation.next_batch(mnist.validation._num_examples)
validation_loss,validation_acc = sess.run([mean_loss,accuracy], feed_dict={inputs:validation_input , targets:validation_targets})
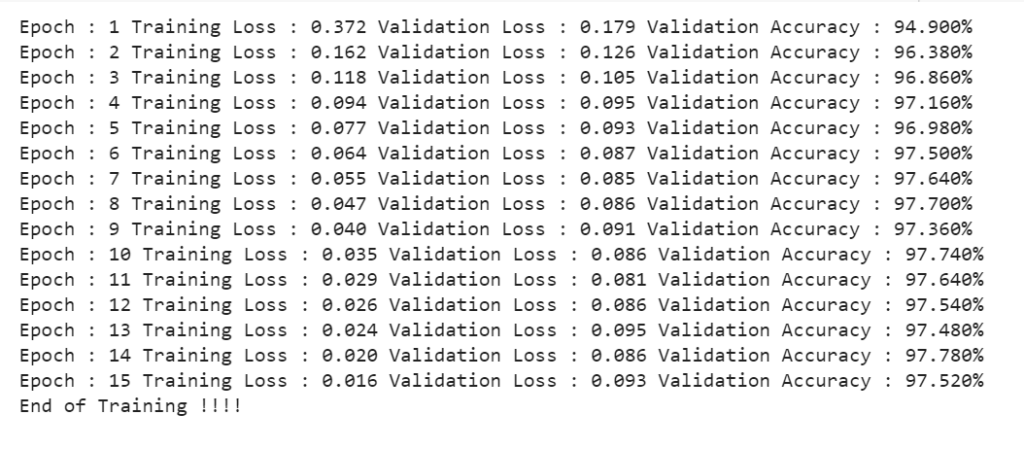
print('Epoch : '+str(epoch_number+1)+
' Training Loss : '+'{0:.3f}'.format(current_epoch_loss)+
' Validation Loss : '+'{0:.3f}'.format(validation_loss)+
' Validation Accuracy : '+'{0:.3f}%'.format(validation_acc*100.))
print('End of Training !!!!')
- Line 1 – We will be running 15 epochs. An epoch is when we traverse through the whole training data once.
- Line 2 – Set current epoch loss to 0.
- Line 3 – It’s not like we will throw whole data inside our model at once. We will provide data in batches. In our cases, no of batches is 60000/100 = 600. It means after 600 batches (100 images in each batch) our 1 epoch will be completed.
- Line 4 – Lets use ‘mnist.train.next_batch(batch_size)’ to take batches from mnist data. This is an inbuilt batching function provided with mnist data.
- Line 5 – Let’s run an optimizer to optimize our model and to move a step closer to the global minima of loss and mean_loss to calculate the loss in this batch. The optimizer will return something but we don’t need that that’s why we have put _ there.
- Line 6 – Add this btach_loss to the current epoch loss.
- Line 7 – After the current epoch is completed, we come up with epoch loss (all batch_loss added ). We will simply take the average of this by dividing it by no of batches, 600 in this case.
- Line 9-10 – As we did for training data, similarly ask mnist to give validation data and calculate loss and accuracy on it. Note we passed ‘mnist.validation._num_examples’ as batch size which means that pass us whole validation data at once in one batch.
- Line 12-15 – Just printing everything you see below.
Step 7 – Testing our MNIST Handwritten Number Recognition model on our test data.
test_input,test_output = mnist.test.next_batch(mnist.test._num_examples)
test_acc = sess.run([accuracy], feed_dict={inputs:test_input , targets:test_output})
print(f'Test accuracy is : {test_acc[0]*100}%')
- Take the test data.
- Calculate accuracy on it.
- Print the accuracy.

Download the Source Code…
Do let me know if there’s any query regarding MNIST Handwritten number recognition by contacting me on email or LinkedIn.
So this is all for this blog folks, thanks for reading it and I hope you are taking something with you after reading this and till the next time ?…
Read my previous post: MNIST HANDWRITTEN NUMBER RECOGNITION USING KERAS – WITH LIVE PREDICTOR
Check out my other machine learning projects, deep learning projects, computer vision projects, NLP projects, Flask projects at machinelearningprojects.net.