Hey guys, In this blog we will see how we can schedule a Python Script in AWS Glue as a Job that will run every hour. I have tried to make this tutorial as easy as possible with each and every step explained.
So without any further due, let’s do it…
Step 1 – Search and Open AWS Glue in your AWS account
Step 2 – Open Visual ETL
- In the left sidebar, we can see Visual ETL.
- Click on that and you will see a page with all the jobs listed.
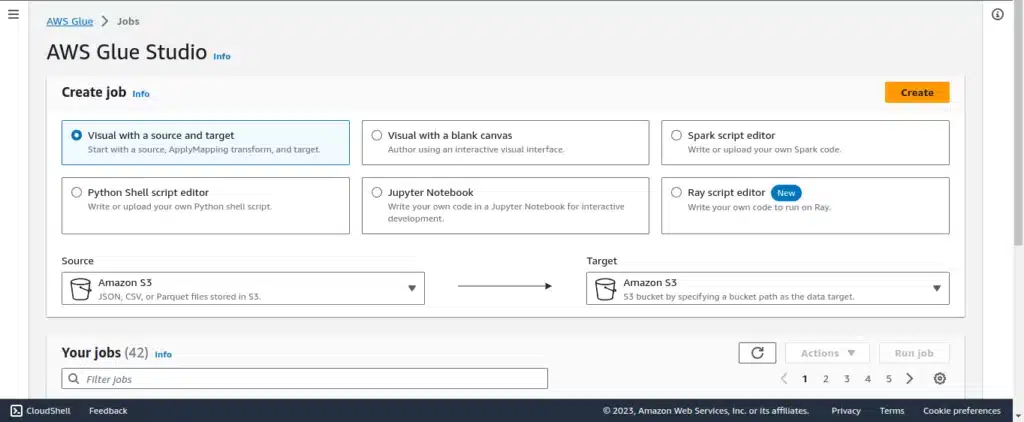
Step 3 – Add Job
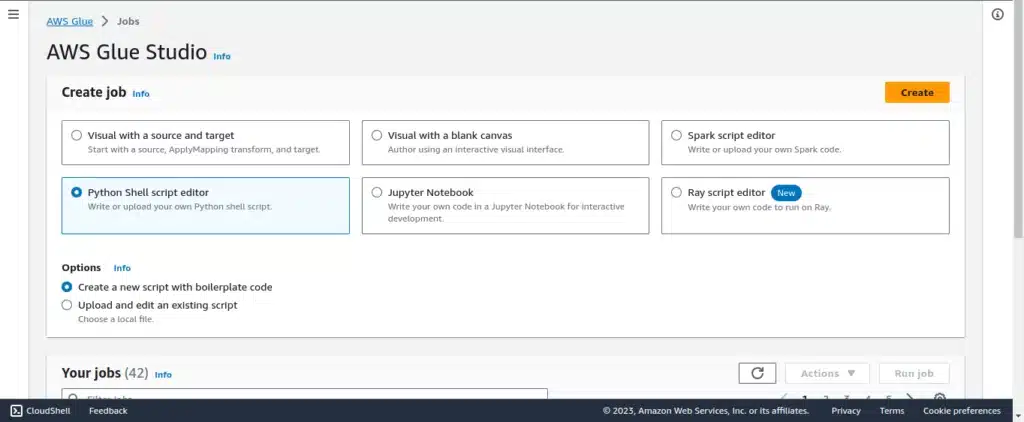
- Select the type of job you want to create.
- I will select Python Shell Script Editor, with ‘Create a new script with boilerplate code’ selected.
- Click on the Create button.
Step 4 – Configure your Job
- It will open a page like below.
- Now you need to do some configurations.
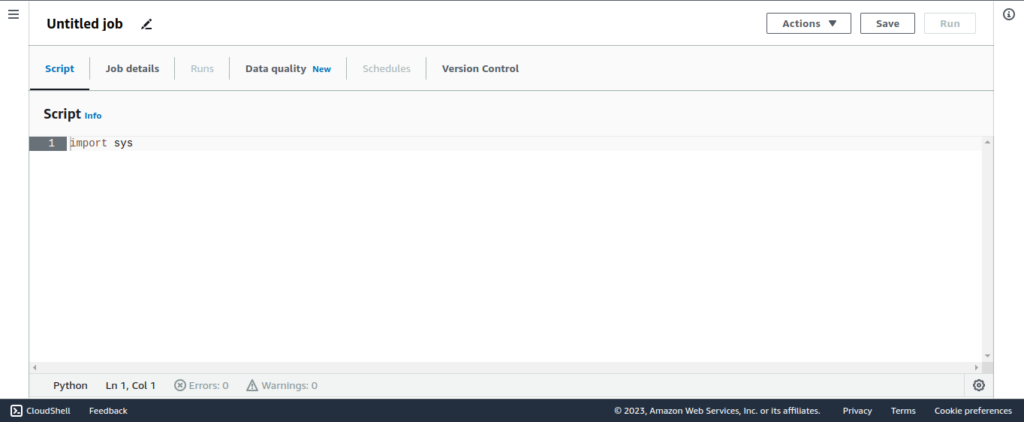
- Name your Job.
- And choose an IAM Role.
- Rest keep everything as it is and click on the Save button.
- Following is the demo code that I wrote to check my Glue Job.

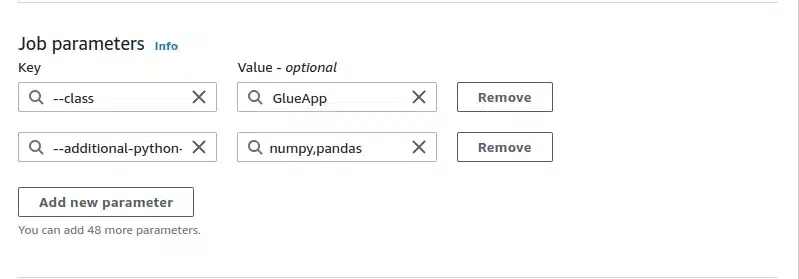
- Now you can see that I imported pandas and numpy in my code and these are not already present in the Glue environment.
- So now we will add these libraries to our environment.
Steps to include external libraries:
- Open Job details.
- Scroll down and click on Advanced Properties.
- Scroll down and under Job Parameters click on ‘Add new parameter’.
- Under Key add
--additional-python-modulesand under Value add comma-separated libraries. - Click on Save.
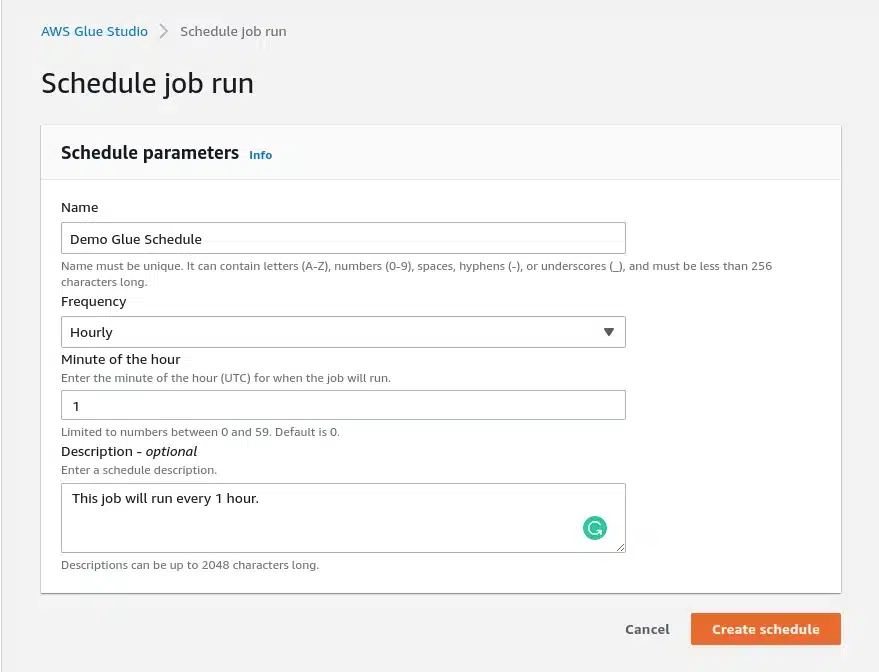
Step 6 – Let’s schedule a Python Script in AWS Glue as a Job
- Click on Schedules.
- Click on Create Schedule.
- Add a Name, and create a schedule.
Step 7 – Let’s run it
- Click on Run and it will run your Job.
- And it should run successfully.
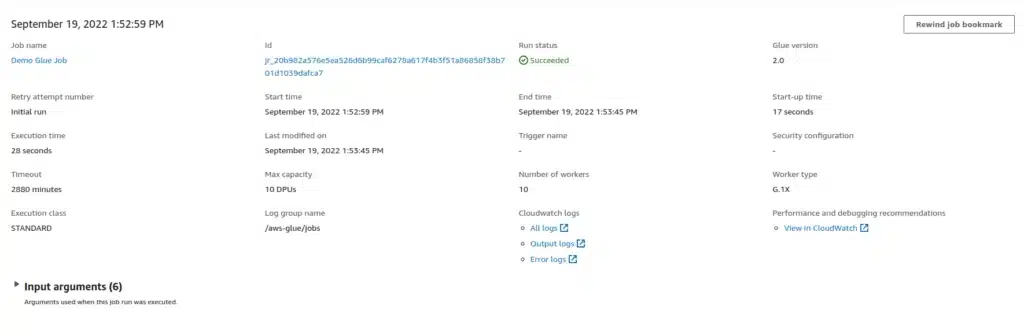
You can also see All Logs, Output Logs, and Error Logs on this page.
Output Logs

You can see the messages here that we printed from our code.
And this is how you can schedule a Python Script in AWS Glue as a Job.
So this is all for this blog folks, thanks for reading it and I hope you are taking something with you after reading this and till the next time ?…
Read my previous post: Easiest Way to use an Amazon S3 trigger to invoke a Lambda function
Check out my other machine learning projects, deep learning projects, computer vision projects, NLP projects, Flask projects at machinelearningprojects.net