In this blog, we will see how you can train your first XGBoost model in Python in the simplest way possible.
XGBoost is an implementation of gradient-boosted decision trees designed for performance and speed.
After reading this post you will know:
- How to install XGBoost on your system for use in Python.
- How to prepare data and train your first XGBoost model.
- How to make predictions using your XGBoost model.
Step 0 – Installing XGBoost
- Refer to this XGBoost Installation guide.
Windows
pip install xgboost
Linux
sudo pip install xgboost
Step 1 – Importing Required Libraries
- Importing Pandas for reading the CSV file.
- Importing XGBClassifier from xgboost module to model it.
- Importing accuracy_score and train_test_split from sklearn to calculate the accuracy and split the data respectively.
import pandas as pd
from xgboost import XGBClassifier
from sklearn.model_selection import train_test_split
from sklearn.metrics import accuracy_score
Step 2 – Loading the Data
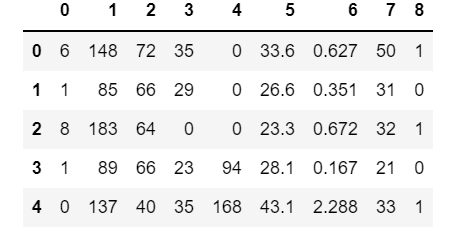
- In this tutorial, we are going to use the Pima Indians onset of diabetes dataset.
- This dataset is comprised of 8 input variables that describe the medical details of patients and one output variable to indicate whether the patient will have an onset of diabetes within 5 years.
- Download Data from this link.
df = pd.read_csv('pima-indians-diabetes.data.csv',header=None)
df.head()
Step 3 – Splitting the Data
- Here we are keeping the first 8 columns as features and we name it X.
- For X we have used df.iloc[:,0:8] which says that take all the rows and include only 0:8(0,1,2,3,4,5,6,7) columns.
- The last column is the target column and we name it Y.
- For Y we have used df.iloc[:,8] which says that take all the rows and just take the 8th column(target column).
- Let’s split the data into a 67:33 train:test ratio using the train_test_split method of sklearn. It takes mainly two parameters; features, and targets. Here X represents features and Y represents targets.
# split data into X and y
X = df.iloc[:,0:8]
Y = df.iloc[:,8]

# split data into train and test sets
test_size = 0.33
X_train, X_test, y_train, y_test = train_test_split(X, Y, test_size=test_size, random_state=7)
Step 4 – Training the XGBoost Model
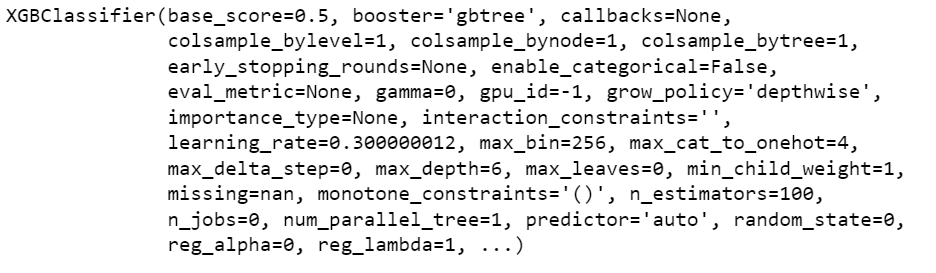
- Create an XGBClassifier object and name it model.
- Now let’s train this model using the training Data.
model = XGBClassifier()
model.fit(X_train, y_train)
Step 5 – Making predictions on the Test Data
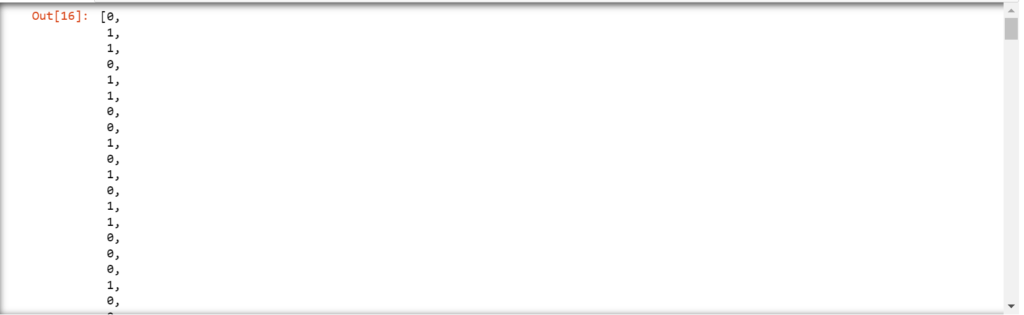
- Let’s make the predictions now.
- Use the model.predict method to make predictions on the test data.
- Let’s see the predictions that our model made.
# make predictions for test data
y_pred = model.predict(X_test)
predictions = [round(value) for value in y_pred]
predictions
Step 6 – Testing the XGBoost Model Performance
- Let’s see the accuracy of our model.
- Here we have used the accuracy_score function of sklearn to find the accuracy of our model.
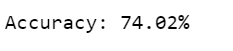
- We can see that our model is giving 74% accuracy which is not very fascinating 🙂 but still it
# evaluate predictions
accuracy = accuracy_score(y_test, predictions)
print("Accuracy: %.2f%%" % (accuracy * 100.0))
Let’s see the whole code in one place…
import pandas as pd
from xgboost import XGBClassifier
from sklearn.model_selection import train_test_split
from sklearn.metrics import accuracy_score

# load data
df = pd.read_csv('pima-indians-diabetes.data.csv',header=None)

# split data into X and y
X = df.iloc[:,0:8]
Y = df.iloc[:,8]

# split data into train and test sets
test_size = 0.33
X_train, X_test, y_train, y_test = train_test_split(X, Y, test_size=test_size, random_state=7)

# fit model no training data
model = XGBClassifier()
model.fit(X_train, y_train)

# make predictions for test data
y_pred = model.predict(X_test)
predictions = [round(value) for value in y_pred]

# evaluate predictions
accuracy = accuracy_score(y_test, predictions)
print("Accuracy: %.2f%%" % (accuracy * 100.0))
Do let me know if there’s any query while you train your first XGBoost model.
So this is all for this blog folks, thanks for reading it and I hope you are taking something with you after reading this and till the next time …
Read my previous post: 4 Easiest ways to visualize Decision Trees using Scikit-Learn and Python
Check out my other machine learning projects, deep learning projects, computer vision projects, NLP projects, and Flask projects at machinelearningprojects.net.
![[Latest] 15+ Best Python Mini Projects – 2026](https://machinelearningprojects.net/wp-content/uploads/2023/05/best-python-mini-projects-1024x536.webp)